Se afișează postările cu eticheta Incinta. Afișați toate postările

sâmbătă, 3 ianuarie 2009

Incinta cu un difuzor de 100 dB

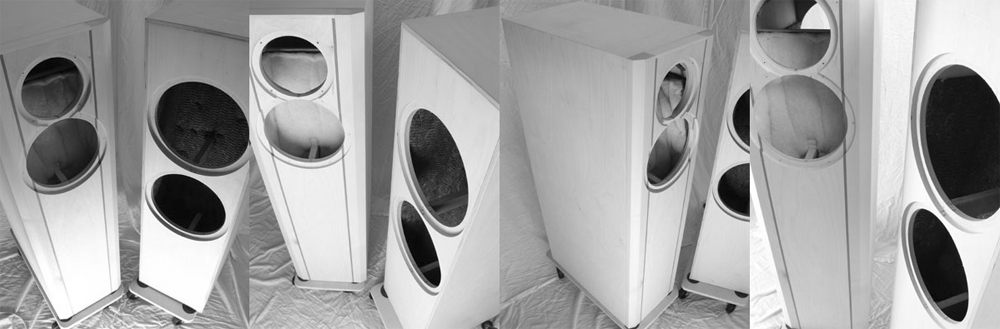
JERICHO Horn Speaker
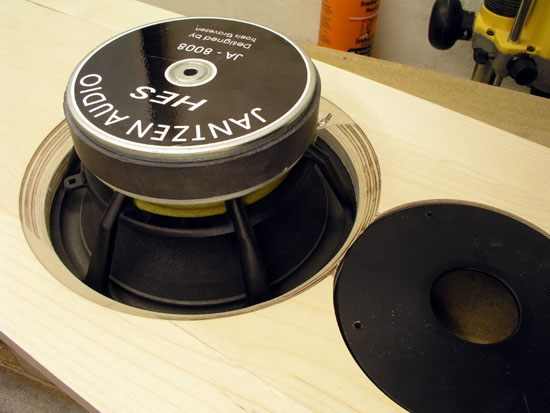
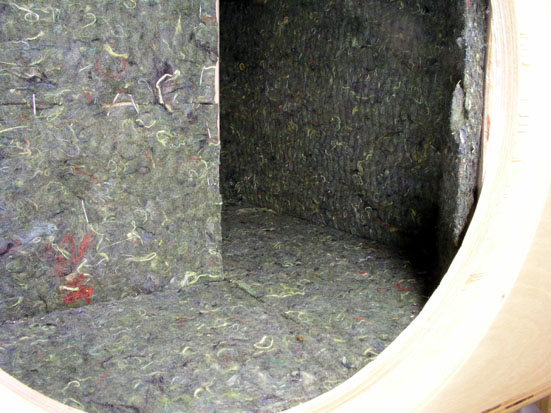

Here is my HORN
It is self made with 19mm MDF.
The driver is a FOSTEX FE 208 SIGMA

Diameter of the Driver is 230 mm. The complete Horn has a efficency of 100 dB with 2,83 Volt input in 1 meter. The Driver has a Impedance of 8 Ohms so 2,83 Volts are exactly 1 Watt input power. The Dynamic is enormus. The plan was in the German Magazine " Klang und Ton" issue 2/96 and it is called the JERICHO HORN. I am very happy with the sound. So I have now a good speaker to test my single ended designs wich I plan to realize in the future. This is the FOSTEX FE 208 SIGMA driver

Specifications of the FE 208 Sigma Driver

Click on the picture to get the plan. Use your mouse right click to save it.
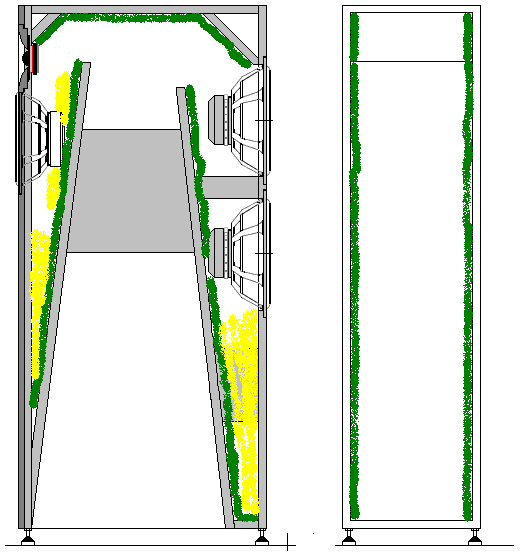
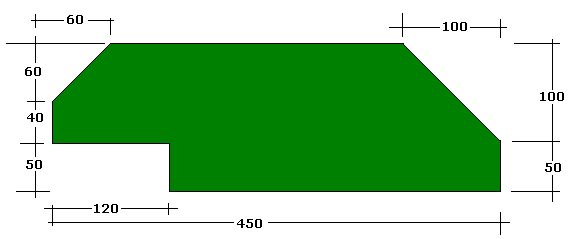
Partlist for the wood :
2 Sidewalls 1170x500 mm
1 Front 742x360 mm/21°
1 Back 1170x360 mm
1 Bottom 481x360 mm
1 Top 462x360 mm
Part 1 148x360 mm/35°/43°
Part 2 692x360 mm/45°/13°
Part 3 698x360 mm/6°/0°
Part 4 691x360 mm/0°/0°
Part 5 200x360 mm/21°/10°
Part 6 292x360 mm/25°/65°
Part 7 70x360 mm/45°/39°
Part 8 60x360mm/40°/40°
Part 9 95x360mm/45°/45°
The correction network. It is used to get a smoth freqency cure in the middle. This you can see in the frequency picture. Without the correction network you get the upper curve in the middle frequency's.
R2 and C2 are to smooth the impedance curve.
You don't need them if your amp is a transistor design
R2= 10 ... 33 Ohm, C2= 15 uF

L1=1,0mH - air coil, wire diameter 1,4mm or more
C1=2,2uF MKP or MKP-SN or better one
R1= 10 Ohm / 20 Watt Metall, I use 10 * 100 Ohm / 2Watt paralell

Frequency response of the Horn <>

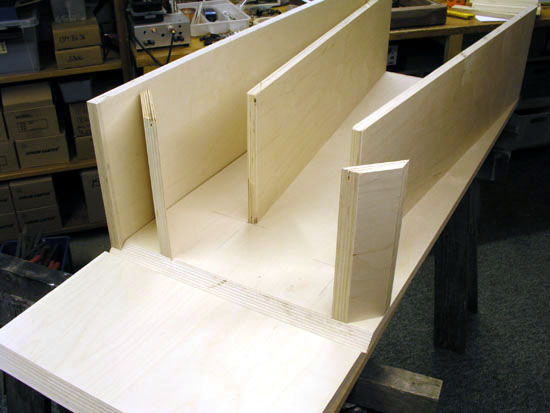
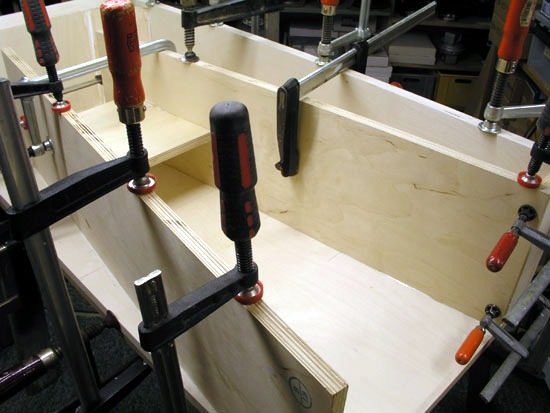
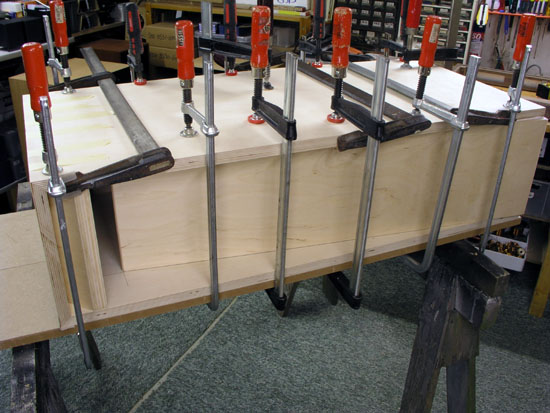
Building Instructions
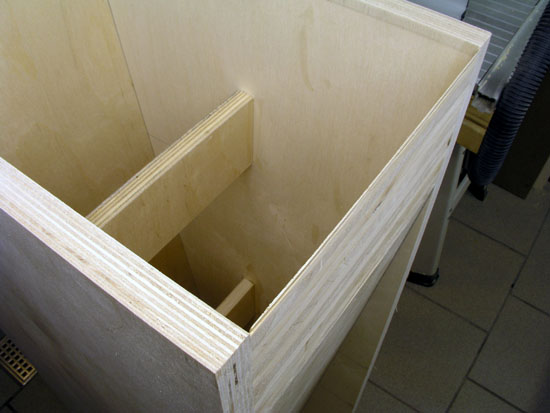
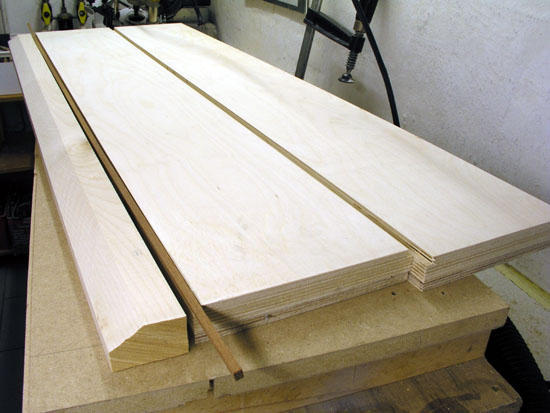
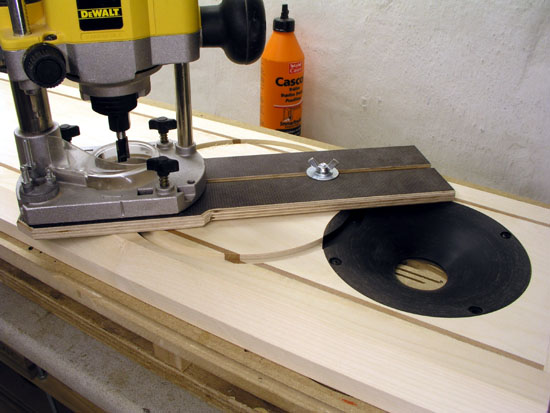
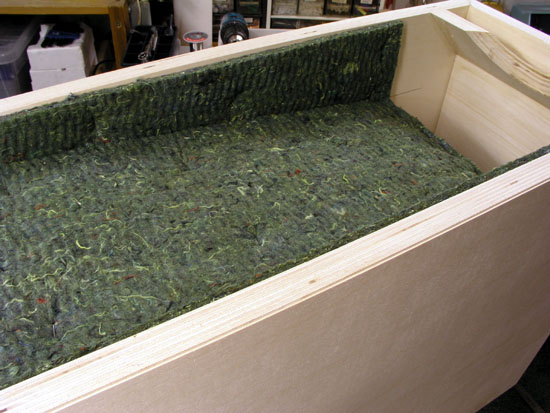
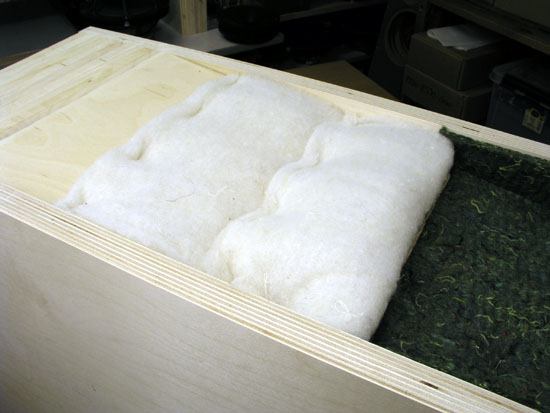
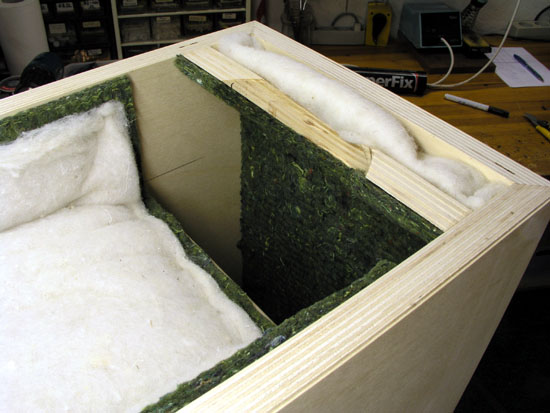
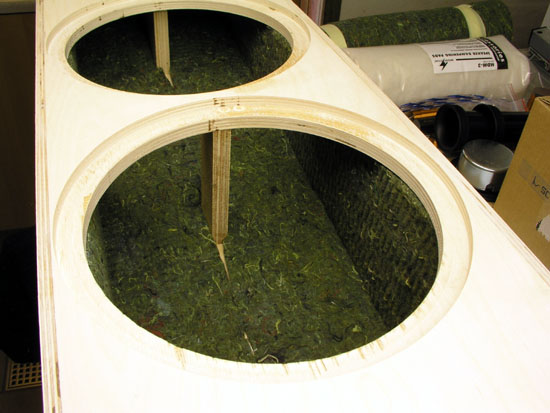
The only damping material in the Horn is about 50gr. wool just behind the driver. You can experiment with the amount of wool to get the bass respose you need for your room. 50gr. is in my opinion a good starting point. I got the best results with it.
Also a good idea is to double the back side and the side's of the mouth opening to get no coloration from "swinging" side and back wall's. See on the picture beside. This picture was send to me from someone who has build the horns. ( Sorry I forgot who it was, please give me a notice when you read this. )

Woodwork
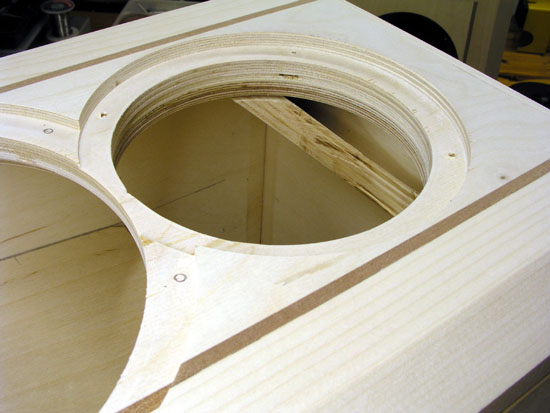
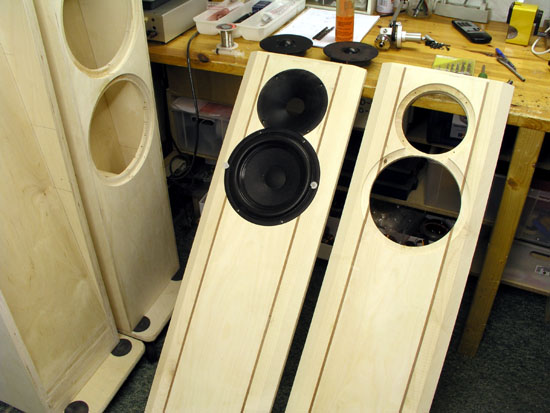
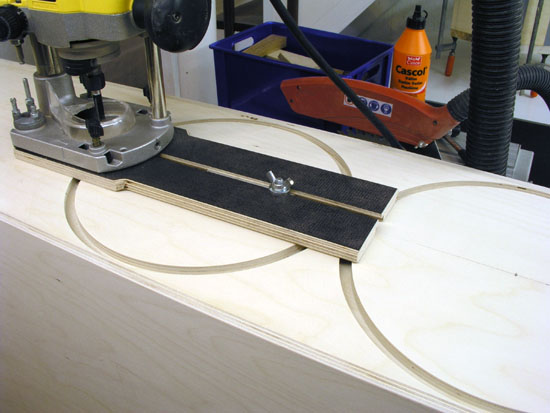
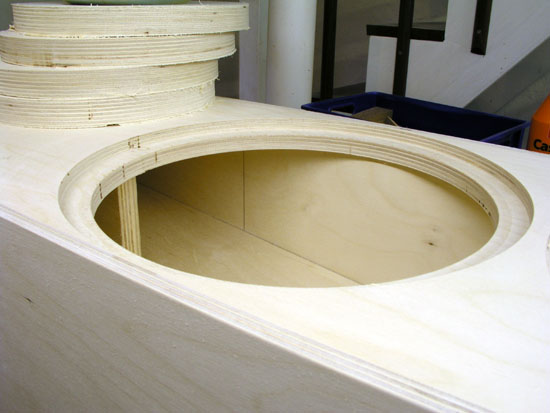
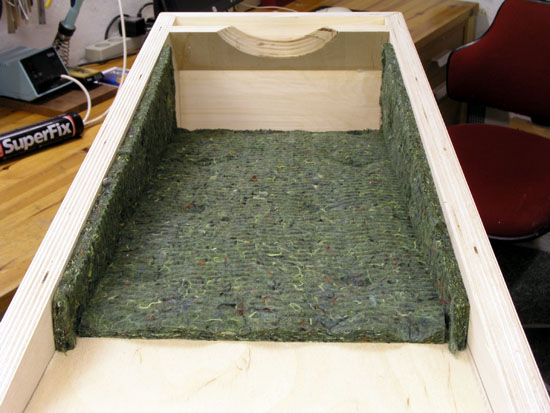
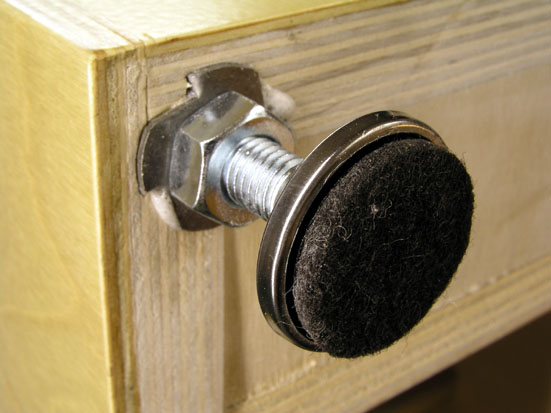
There is nothing to say, look at the picture.

Literatur : The plan was in the German Magazine " Klang und Ton" issue 2/96 and it is called the JERICHO HORN. Read More......

duminică, 14 decembrie 2008

Incinta pentru difuzor Pioneer a25-gc40-51F-Q sau Beyma 10LW30N


DTQWT cabinet construction pics and comments
Copyright © Troels Gravesen, 2008

Cabinet drawings


Cabinets can be made from 19 mm and 30 mm (front) MDF as suggested in drawings, or from 18, 21 and 30 mm Baltic birch as seen below.

Assembling cabinets

21 mm Baltic birch was used for side and rear panels. Rear panel was made 264 mm wide and rebated. See drawing above. Bass drivers (Beyma) are 260 mm diameter.
30 mm Baltic birch (21+9 mm) was used for front panels. 50 mm front panel fillets were made from solid maple wood.
18 mm Baltic birch was used for all interior panels including bracing.

The front panels
Routing Baltic birch takes a fresh, razor-sharp router bit.

Routing for bass drivers
Routing Baltic birch takes a fresh, razor-sharp router bit.

Cabinet damping:

Two types of damping materials are used in the DTQWT construction:

1. Green (drawing): 10-12 mm felt material. Alternatively use 10 mm polyester foam.
2. Yellow (drawing): MDM3 (Monacor) mix of 2/3 sheeps' wool and 1/3 polyester fibres. Alternatively use Acoustilux.

Add felt or polyester foam to sides of front and rear chambres.
Center chambre: No damping material is used here.
Top of cabinet: Add foam or felt material as shown on drawing.

Front chambre behind JA8008 driver:
One layer of MDM3, 22 x 25 cm is placed behind JA8008 driver.
Fold a piece of 20 x 30 cm MDM3 and place at bottom of front chambre as seen on drawing.

Rear chambre behind bass drivers:
Add felt or foam on internal panel and on sides as seen on drawing.
Add ½ roll MDM3 for bottom or rear chambre as seen on draing.

Total requirements of damping material: 1.5 m^2 foam or felt and 3 rolls of MDM3 for two cabs.


Felt material added to front chamber, 50 cm from top of front interior panel. Glue and staples are used to keep things in place.
For the MDM3/acoustilux only staples are used.


Half-fold a piece of MDM3/acoustilux as seen on photo and attach with staples. Add MDM3/acoustilux behind JA8008 driver as seen on photo and
fasten with staples.
Add felt/foam to top of cabinet, a piece of 24 x 50 cm is needed.


Left: Add felt or polyester foam to sides of rear chambre as seen on photo. Felt reaches all the way down to the bottom of the chamber. Fold a 22 x 80 cm
piece of MDM3/acoustilux and place at bottom of rear chamber, see drawing.
Right: Ups....almost forgot the front chamber bracing... still time to glue this in place.


The final layer of damping the top of side panels. Approx. dimensions seen on drawing.


Cabs ready for sanding and laquer.


Found these at a local diy home market: Total price <>The final cabinets must be 30-45 mm above floor level!


Left: Believe me, this is the last time I mount terminals after having finished the cabs! I suggest using a terminal board that allows
access to the top (at the bottom) of the bass horn.
Right: Bass crossover section in place at rear internal panel.


Front driver crossover in place at front internal panel.


The finished cabs.

Happy building!

Read More......

Publicitate