DTQWT cabinet construction pics and comments
Copyright © Troels Gravesen, 2008

Cabinet drawings
Cabinets can be made from 19 mm and 30 mm (front) MDF as suggested in drawings, or from 18, 21 and 30 mm Baltic birch as seen below.
Assembling cabinets
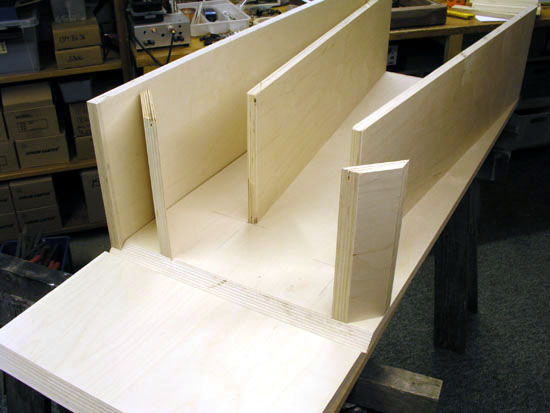
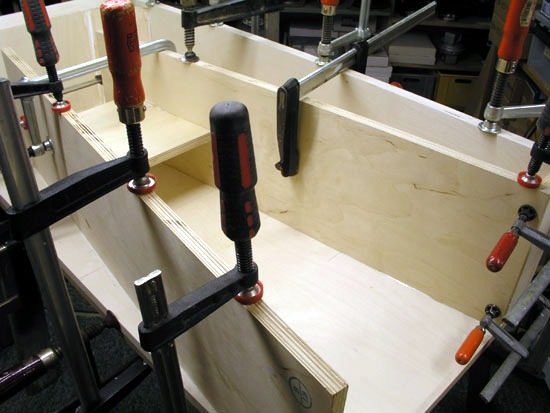
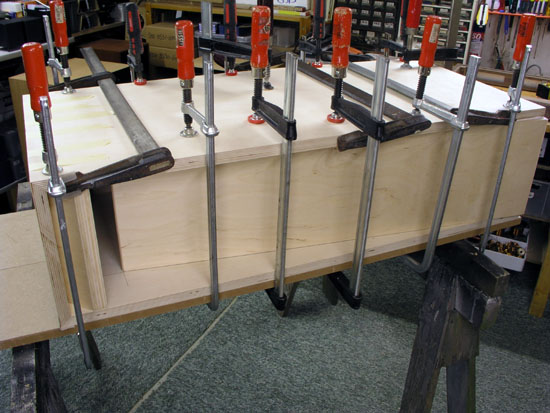
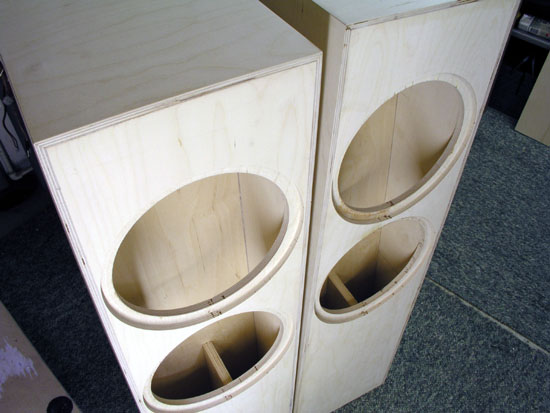
21 mm Baltic birch was used for side and rear panels. Rear panel was made 264 mm wide and rebated. See drawing above. Bass drivers (Beyma) are 260 mm diameter.
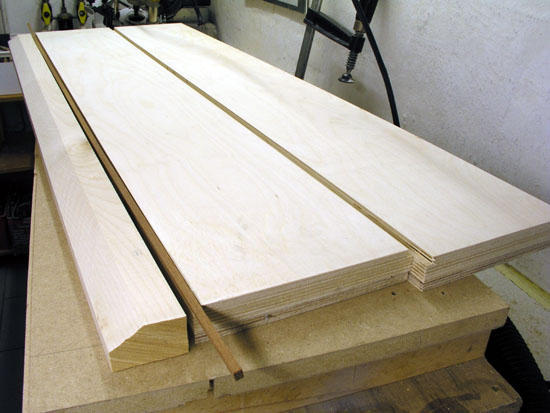
30 mm Baltic birch (21+9 mm) was used for front panels. 50 mm front panel fillets were made from solid maple wood.
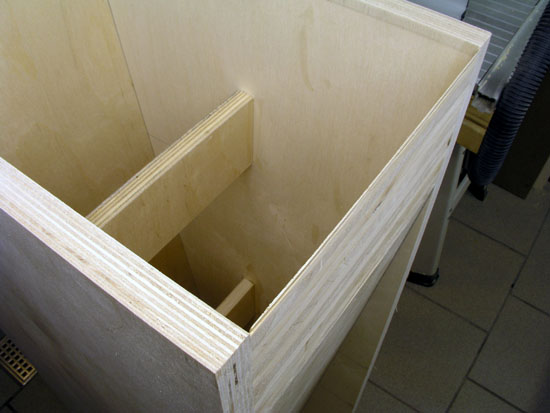
18 mm Baltic birch was used for all interior panels including bracing.
The front panels
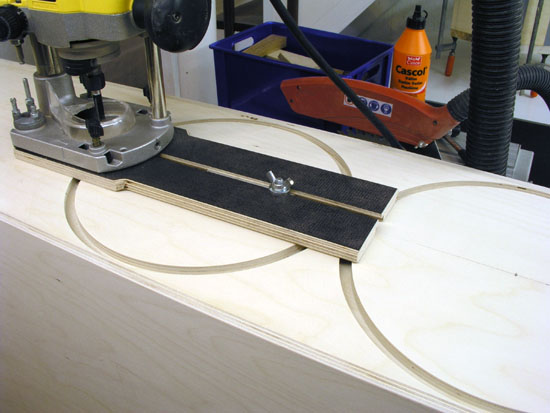
Routing Baltic birch takes a fresh, razor-sharp router bit.

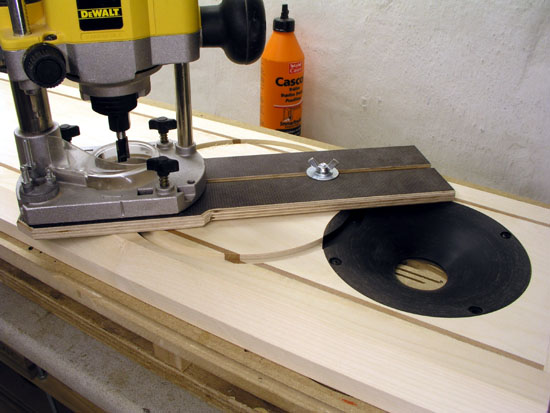
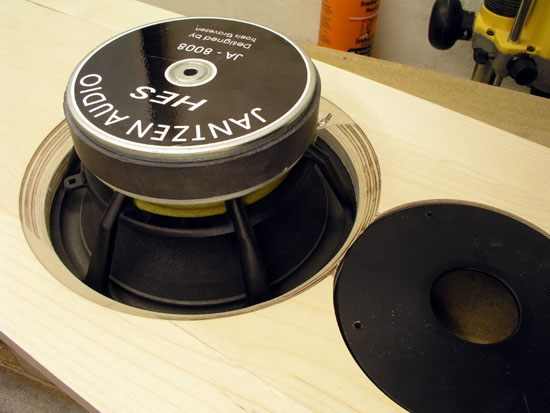
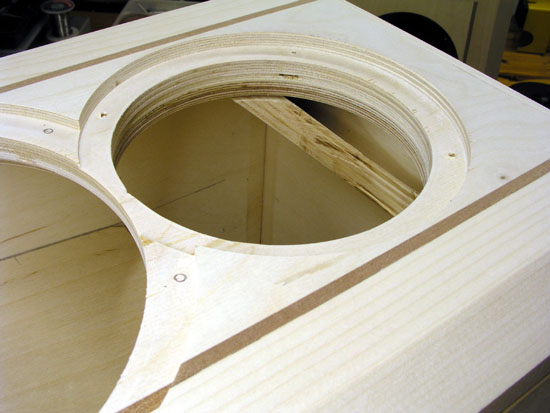
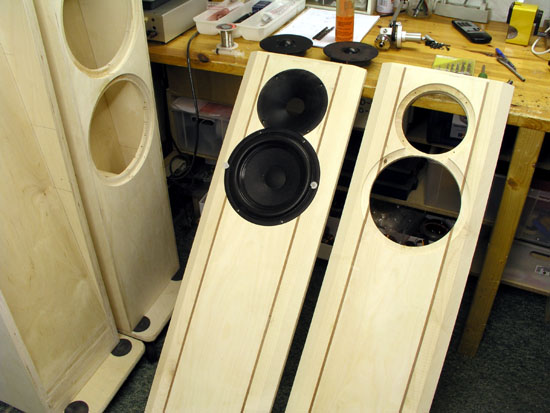
Routing for bass drivers
Routing Baltic birch takes a fresh, razor-sharp router bit.
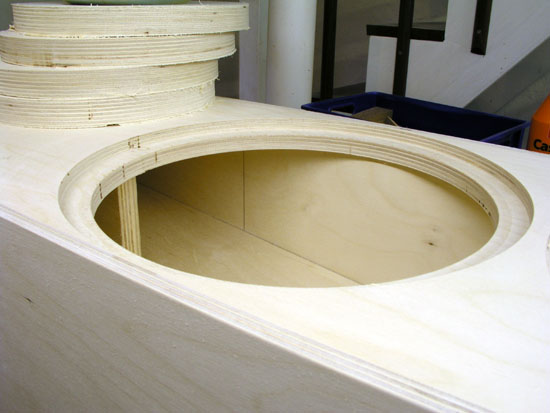
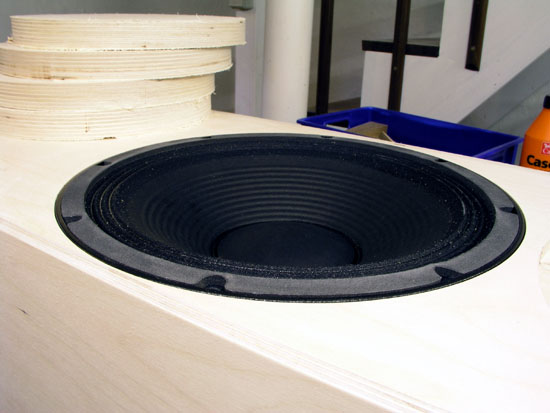
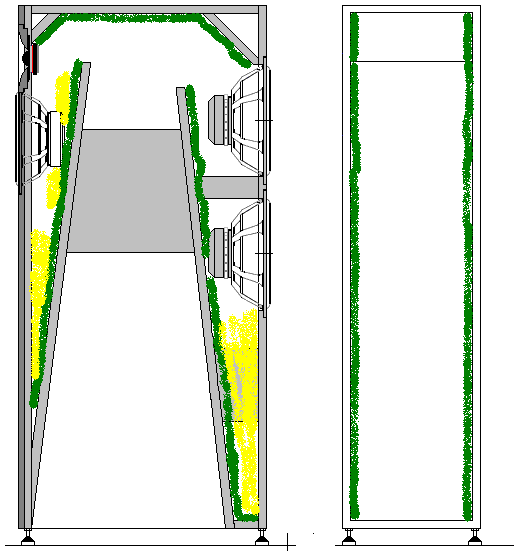
Cabinet damping:
Two types of damping materials are used in the DTQWT construction:


1. Green (drawing): 10-12 mm felt material. Alternatively use 10 mm polyester foam.
2. Yellow (drawing): MDM3 (Monacor) mix of 2/3 sheeps' wool and 1/3 polyester fibres. Alternatively use Acoustilux.
Add felt or polyester foam to sides of front and rear chambres.
Center chambre: No damping material is used here.
Top of cabinet: Add foam or felt material as shown on drawing.
Front chambre behind JA8008 driver:
One layer of MDM3, 22 x 25 cm is placed behind JA8008 driver.
Fold a piece of 20 x 30 cm MDM3 and place at bottom of front chambre as seen on drawing.
Rear chambre behind bass drivers:
Add felt or foam on internal panel and on sides as seen on drawing.
Add ½ roll MDM3 for bottom or rear chambre as seen on draing.
Total requirements of damping material: 1.5 m^2 foam or felt and 3 rolls of MDM3 for two cabs.
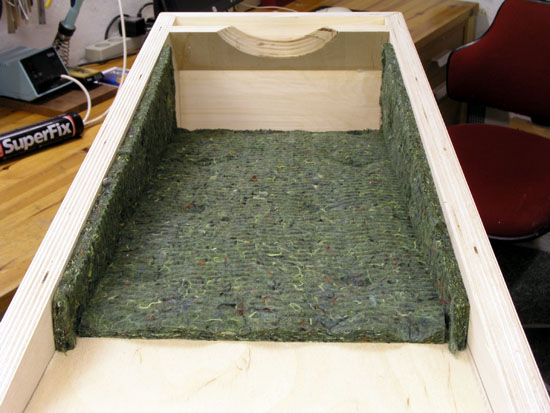
Felt material added to front chamber, 50 cm from top of front interior panel. Glue and staples are used to keep things in place.
For the MDM3/acoustilux only staples are used.
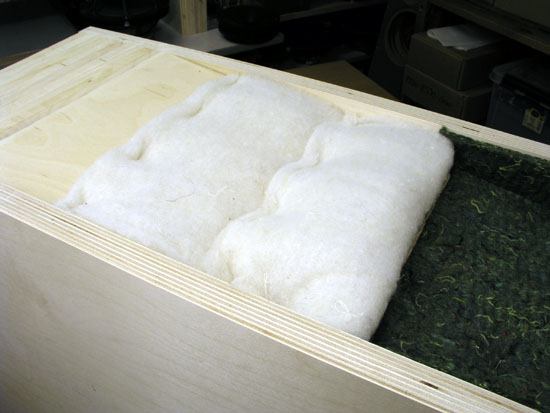
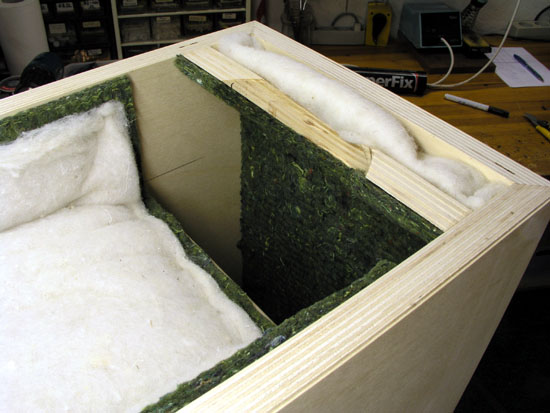
Half-fold a piece of MDM3/acoustilux as seen on photo and attach with staples. Add MDM3/acoustilux behind JA8008 driver as seen on photo and
fasten with staples.
Add felt/foam to top of cabinet, a piece of 24 x 50 cm is needed.
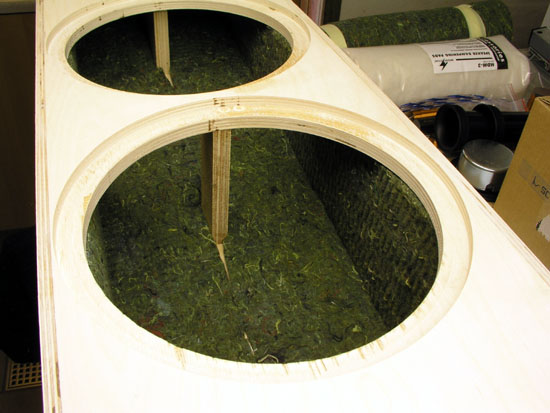

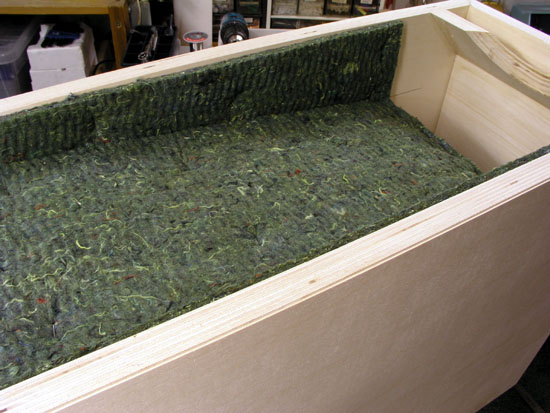
Left: Add felt or polyester foam to sides of rear chambre as seen on photo. Felt reaches all the way down to the bottom of the chamber. Fold a 22 x 80 cm
piece of MDM3/acoustilux and place at bottom of rear chamber, see drawing.
Right: Ups....almost forgot the front chamber bracing... still time to glue this in place.
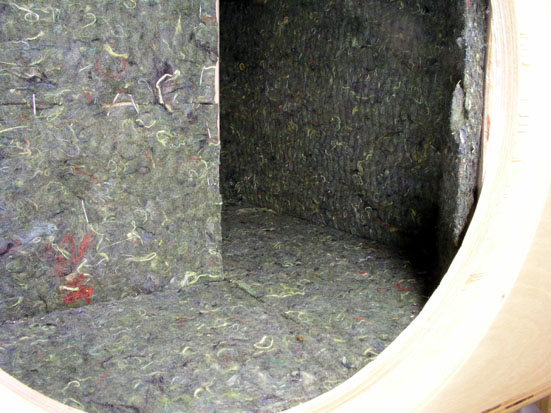
The final layer of damping the top of side panels. Approx. dimensions seen on drawing.

Cabs ready for sanding and laquer.
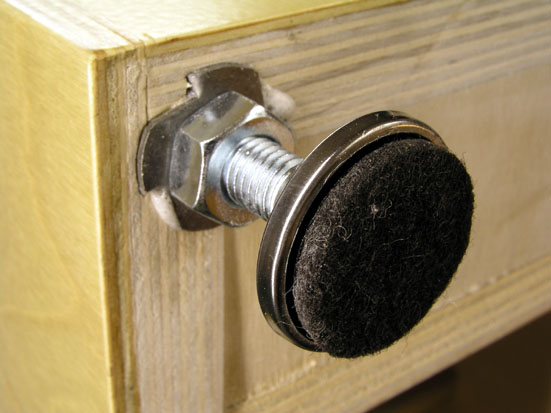
Found these at a local diy home market: Total price <>The final cabinets must be 30-45 mm above floor level!
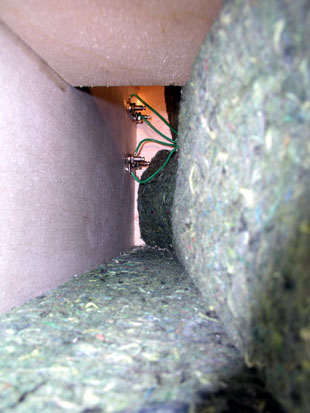

Left: Believe me, this is the last time I mount terminals after having finished the cabs! I suggest using a terminal board that allows
access to the top (at the bottom) of the bass horn.
Right: Bass crossover section in place at rear internal panel.

Front driver crossover in place at front internal panel.


The finished cabs.
Happy building!


0 comentarii:
Trimiteți un comentariu